Why prompt structure matters more than clever words
You’ve probably seen it: two prompts that feel “basically the same” produce wildly different images, while a prompt full of poetic adjectives still misses the point. That’s because Stable Diffusion responds less like a language reader and more like a pile of weighted tags competing for attention. Structure decides what the model treats as the main subject, what becomes background flavor, and what gets ignored.
Think of a prompt as a packing list with priorities. Put the subject late, or bury it under style words, and the model may “solve” the scene by leaning on the easiest signals. This is why predictable results come from consistent ordering, clear anchors (who/what/where), and controlled modifiers—not clever phrasing. It also saves money and time, since fewer reruns means fewer steps, less upscaling, and less seed-hunting.
Start with subject, then lock the core scene
Consistent image results depend heavily on defining the subject and main scene before adding stylistic details. Begin with something concrete, such as a golden retriever, a mid-century armchair, or a woman in a raincoat. Specify the features that must remain unchanged, including age, material, color, or a key accessory. When the subject itself keeps shifting, comparisons between different generations become much less useful.
Next, describe the scene in literal terms: where the subject is, what they are doing, and what surrounds them. “Sitting on a subway bench, holding a paper cup, at night under fluorescent lights” gives the model clearer direction than a collection of mood words. Spatial relationships deserve the same precision, whether the subject needs to appear in front of something, behind it, in close-up, or in full-body view. Keep the prompt focused on details that would make the image wrong if they changed; too many minor instructions can distract from the elements that matter most.
Add style and medium without drowning the subject
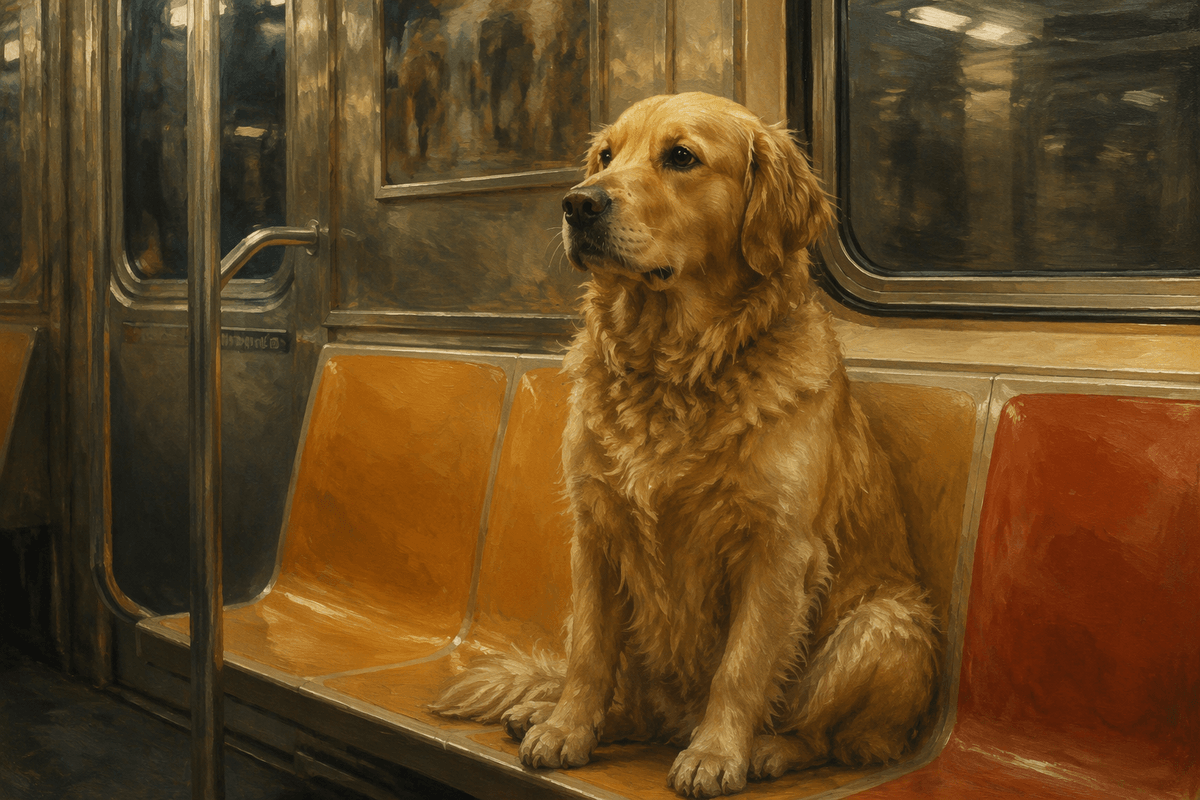
You’ve locked the “what” and the “where,” so style should behave like a lens, not a replacement subject. The common failure mode is treating style words as the main payload: “cyberpunk, neon, cinematic, gritty, film still” can easily overpower “a golden retriever on a subway bench” and you end up with a generic vibe scene that happens to include a dog. Keep style and medium to one clear choice at first (oil painting, watercolor, 35mm photo, isometric game art), then add one or two supporting descriptors that are actually visible (soft brushwork, high contrast, pastel palette).
Order helps: put the subject and core scene first, then medium, then a short style qualifier. If you want a specific artist-like look, treat it as a strong modifier and expect trade-offs: more consistency in aesthetics, less flexibility in subject accuracy. Stacking multiple mediums (“photo, watercolor, 3D render”) often produces muddy hybrids, so test one medium per run until the subject stays stable.
Use composition and camera terms for controllable changes
An image may capture the right subject and setting yet still miss the mark. The face may dominate the frame, the room may be hard to read, the pose may look awkward, or the subject may be cropped unexpectedly. Composition and camera terminology help correct these problems by changing how the scene is framed without altering the subject itself. Rather than adding more descriptive adjectives, specify the viewpoint and framing you want.
Useful terms include “close-up,” “medium shot,” “full body,” “wide shot,” “over-the-shoulder,” “profile,” “top-down,” “three-quarter view,” “centered composition,” “rule of thirds,” “symmetrical,” “negative space,” “shallow depth of field,” “bokeh,” “sharp focus,” and “soft focus.” For a photographic look, specify a “35mm,” “50mm,” or “85mm portrait lens,” along with an “eye-level” viewpoint to guide perspective and reduce unwanted distortion. Some instructions may conflict, so change one element per generation while keeping the others fixed. This makes it easier to identify which adjustments produce the framing you want.
Negative prompts: fixing artifacts versus over-restricting
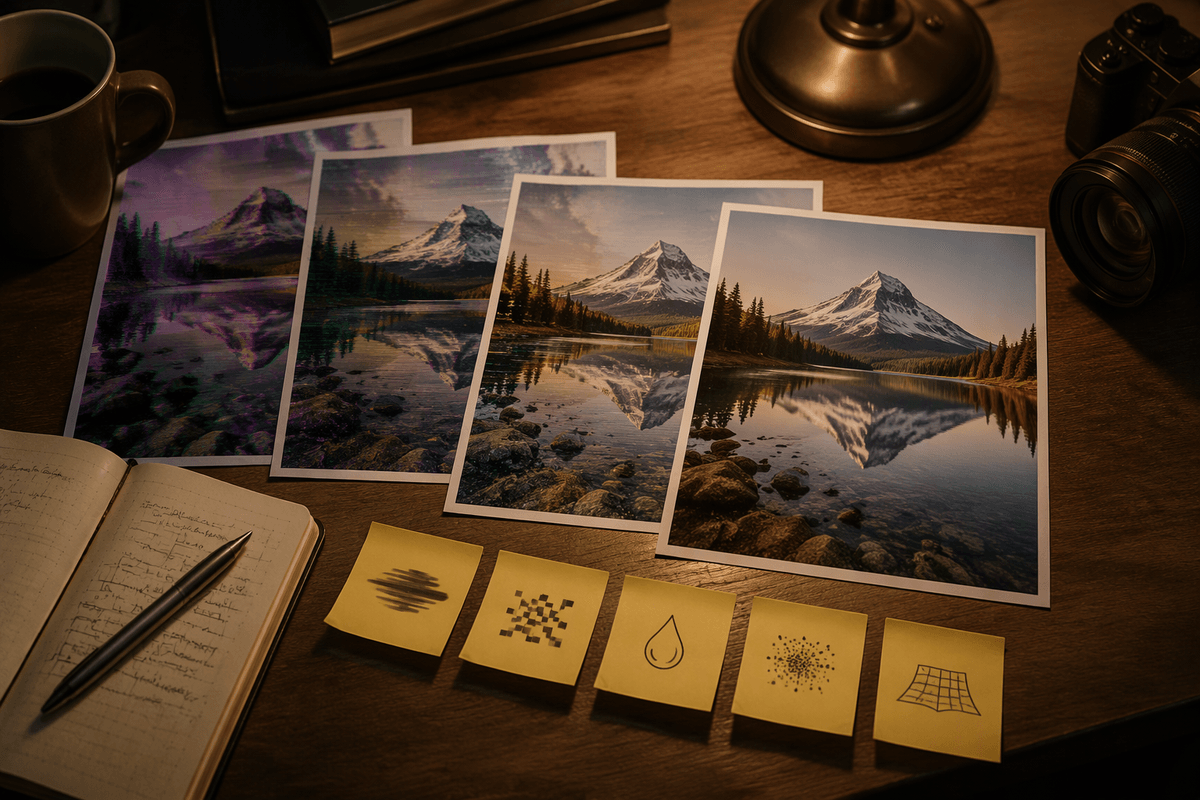
You’ll also hit problems that aren’t about your idea at all: extra fingers, warped eyes, random text, double heads, or a background that turns into clutter. Negative prompts are best used like a small cleanup list for these recurring artifacts, not as a second “story prompt.” Start with a short, reusable base such as: “extra fingers, bad hands, deformed, poorly drawn face, text, watermark, logo.” If the model keeps inventing writing on signs or clothing, “text” and “watermark” often do more than trying to describe the “no text” situation in the positive prompt.
The trap is over-restricting. A long negative list can block useful details and push the model into bland, low-detail images, especially if you negate broad style words like “cinematic,” “dramatic lighting,” or “grain.” Keep negatives specific to the failure you’re seeing, add one or two at a time, and don’t negate qualities you actually want. A practical cost is that debugging a huge negative list wastes runs, because you can’t tell which term fixed (or caused) the change.
Weights, emphasis, and ordering when things conflict
Conflicting instructions often lead the model to favor one part of the prompt at the expense of another. A request for “a golden retriever on a rainy subway platform” might produce a dramatic station with a barely visible dog, or a prominent dog in an unrelated street scene. Give the most important elements priority by placing them early in the prompt and describing them clearly. Secondary details can follow once the subject and setting are established. Emphasis should also be used sparingly. Giving extra weight to the main subject or an essential prop may help, while applying it too heavily can distort features, exaggerate textures, or introduce repeated elements.
Prompt order still matters when emphasis is available. Giving five different elements equal weight does little to clarify which one matters most. A more reliable approach is to identify the main conflict in each attempt, whether it concerns subject size, the prominence of the setting, or the lighting mood. Then make one adjustment at a time: move the key phrase earlier, add slight emphasis to one essential element, or remove a competing style term. This makes each result easier to evaluate and reduces the need for repeated, substantial rewrites.
A repeatable prompt template and iteration workflow
A reliable workflow starts with a prompt you can reuse, not reinvent. Try: subject + 1–2 must-have attributes, action + setting, composition/camera, medium + style, lighting/color. Keep a small base negative list for common artifacts, and add only what you’re currently fixing. Then iterate like a lab test: lock seed, steps, sampler, CFG, and resolution, and change one thing per run.
When it drifts, diagnose by category: is the subject wrong (rewrite the first phrase), is framing wrong (swap shot terms), or is mood wrong (adjust lighting/palette)? The constraint is patience: disciplined iteration feels slower, but it wastes fewer runs than big rewrites.